Countertop Installation Asheville: Granite or Quartz for Your Kitchen
Published
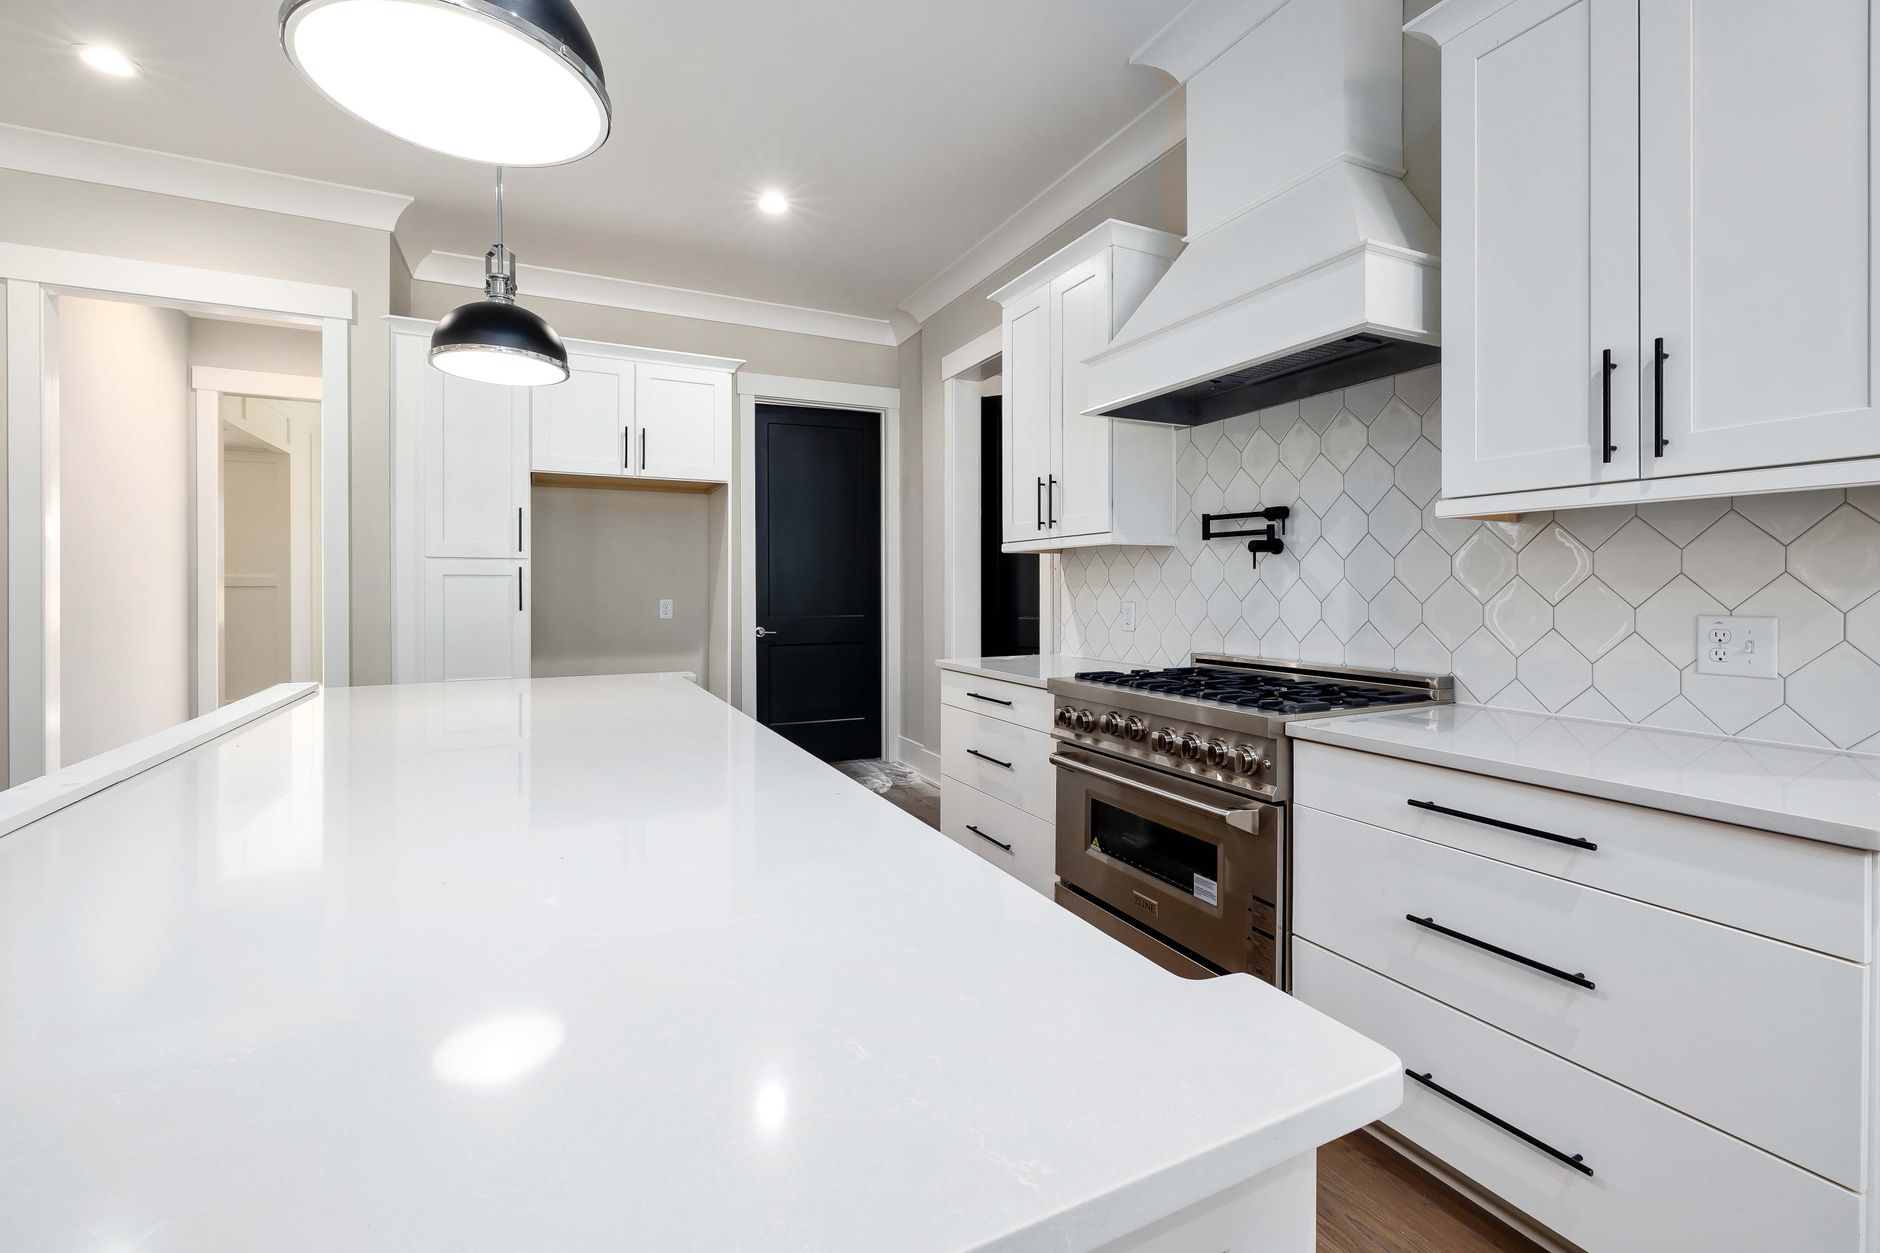
Start from the places in your kitchen that take the hardest use, because those spots will tell you more about granite or quartz than any color chip. Both materials perform well in a kitchen, yet they struggle in different ways, so a brief inventory of your cooking habits matters more than any sample on a showroom shelf.
Begin with light and temperature. A counter beneath a large window that looks toward the mountains in Asheville, North Carolina (Buncombe County) can soak up bright sunshine for much of the afternoon, and prolonged exposure is a concern for quartz because its resin binder can fade or take on a yellowish cast. Before you visit countertops asheville craft to see how each option reads in a sunny room, write down every spot that gets heat or direct light so your questions stay grounded.
Matching the stone to daily routines
Temperature, light and orientation
Quartz is made by binding crushed quartz crystals with polymer resin and color pigments. That resin does not tolerate high heat well. Set a hot skillet or a slow cooker on it for an extended period and you risk scorching, dulling or cracking. Granite copes with heat more readily, though sudden temperature swings can still stress it, and repeated heat can break down the sealer. Use trivets on both surfaces, and keep pans away from the front edge, where a bumped handle sends cookware crashing down.
Light is the second variable. Intense, lasting sun can fade or yellow quartz resin, a problem in sunrooms, screened porches and kitchens with floor to ceiling glass. Most quartz manufacturers advise against outdoor installation. For an outdoor cooking area, granite is the more common pick, because the region's freeze and thaw winters put stone through repeated cycles.
Upkeep you will realistically maintain
Quartz has a nonporous surface and needs no sealing. Most granites are at least slightly porous and benefit from a penetrating sealer, although some dense, dark varieties take in very little liquid. Testing is simple. Drip a little water beside the sink and another spot near the cooktop, then check after several minutes. Darkening means the stone is drinking liquid and needs resealing. Water that stays beaded with no color change means the protection is still working. There is no universal reseal schedule, since it hinges on the particular stone and the amount of work the kitchen sees.
Everyday care is the same for both: warm water, a drop of mild dish soap or a pH neutral stone product, and a soft cloth. Bleach, ammonia, vinegar and citrus solutions gradually strip granite sealer, while scouring pads and abrasive powders can flatten the polish on quartz. Sealing does not make granite stain proof, so mop up wine, cooking oil and food dye quickly no matter which surface you chose.
Avoid chopping directly on either material. Each is hard enough to nick a blade, and a heavy cleaver can chip an edge. A plain wooden or plastic board is inexpensive and spares both the counter and your knives.
Judge the slab itself and the joints
Evaluate the real slab, not a small sample tile. Granite is quarried stone, so each slab carries its own color shifts, veining and mineral flecks, and a palm-sized chip can paint a misleading picture. Request a look at the actual pieces in natural light at the yard, then tag the exact slabs you want. Quartz tends to be uniform from one slab to the next, which simplifies large runs and makes it easier to find a matching piece if you need a repair later.
Verify the stone type. Certain slabs marketed as granite are really marble, dolomite or soft quartzite, and those etch from lemon juice or vinegar. Ask for a test on an offcut using a mild acid before you sign anything, and avoid relying on the sales name alone. Quartz and quartzite are different materials, so make sure the fabricator's quote names the one you expect.
Where seams fall and how veins line up
Joints are bonded with epoxy colored to match the stone. Up close they can be seen, particularly on solid pale quartz and on heavily veined slabs. Before cutting begins, ask for a sketch showing where the seams will fall and how the veining will carry across them. Perfect invisibility is not realistic, especially in L shaped or very long runs, so decide seam placement together with the fabricator rather than assuming a flawless match.
Steer seams clear of the dishwasher, since its heat and steam add stress. Avoid skinny strips of stone between a sink or cooktop cutout and the edge, because those slivers are a common starting point for cracks. A joint running through an uninterrupted stretch of counter generally looks more natural than one wedged beside a fixture.
Get the house ready for templating and installation
Base cabinets, sink and cutouts
Cabinets need to be completely set, level and anchored before the templater shows up, since stone requires flat, continuous support. A slab resting across cabinets that sit out of level can crack under its own weight or split at a joint. Run a level along the boxes and correct any sag ahead of the template appointment.
Settle on the sink, faucet and cooktop before the template day, having either the fixtures on hand or their manufacturer cut sheets. Openings are sized to the exact hardware, and improvised measurements produce recuts or gaps. Also confirm slab thickness. A 2 cm slab often calls for a plywood subtop or a laminated edge profile, whereas a 3 cm slab normally rests straight on the cabinets. Check which thickness you have ordered, because it shapes the edge look, the support required and the overall price.
Seating overhangs need added support once they pass a certain depth, and that limit varies by slab thickness and material. Get the fabricator's maximum unsupported overhang in writing. If an island extends past it, arrange steel brackets or corbels before installation, not after the stone is already in place.
Older construction and walls that wander
Plenty of older houses in Montford, the Grove Park area and other historic pockets of Asheville, North Carolina (Buncombe County) have walls that lean and corners that are not square. Careful measurement, whether physical or digital, will reveal these problems, but expect some scribing and a bead of caulk along the backsplash rather than a seamless wall fit. Mention any bowed wall or off-square corner to the templater so the pattern reflects the real room.
Eased or rounded edges resist chipping better than crisp square ones, particularly near the sink and on corners that get knocked by dishes. In an older kitchen with imperfect walls, choosing a softened profile is a practical way to cut down on chips where the stone meets the room.
Getting the slabs inside and the appliances connected
Steep drives, hillside lots and long staircases are routine around Asheville, North Carolina (Buncombe County). Slabs are heavy and vulnerable when carried on edge, so describe the route to the installer in advance. Clear a walkway, reposition vehicles, and cover floors and door frames before the crew arrives.
Determine who handles reconnecting plumbing, the cooktop and the dishwasher. Many countertop crews set the stone and the undermount sink but leave water and gas hookups to others, so book a plumber if that work is not included. The dishwasher cannot be fastened up into the underside of the stone. It requires side brackets screwed into adjoining cabinets, so confirm those brackets are available before the install day.
Airborne dust and crew practices
Cutting granite and quartz throws off respirable crystalline silica, and engineered stone poses a notably serious risk. Push for cutting to happen wet at the fabrication shop. Any on-site cutting or polishing should be wet or use dust capture, and occupants ought to stay out of the space until the air settles. Ask the installers how they manage this before the appointment.
Once the installers have gone
Allow the seam adhesive and the sink silicone to cure as the installer instructs before running water or stacking items on the stone. Stay off the slab, particularly at joints and around cutouts, because those points tend to give way under focused weight.
Keep an eye on the caulk line where an undermount sink meets the stone. Once it breaks down, water can reach the sink clips and the cabinet floor, so re-caulk as soon as you see a gap or mildew. Granite commonly shows natural fissures and small filled pits, and these are not defects. A real crack shows a raised or misaligned lip you can feel with a fingertip, or it runs all the way through the slab's thickness. Bring up any concern while the crew is still on site, since they can inspect it that same day.
Your material choice counts, yet the surrounding details count just as much. A precise template, level cabinets, a plan for plumbing and access, and a careful review of the seam drawing will do more for the finished kitchen than any single advantage of granite or quartz.